This one is a long time coming. I have perused Pinterest for various pictures, recipes and tips for mason jar salads but it has taken me months to finally make the effort to try this out. Blame it on the new year and all those attempts at resolutions for making this finally happen!
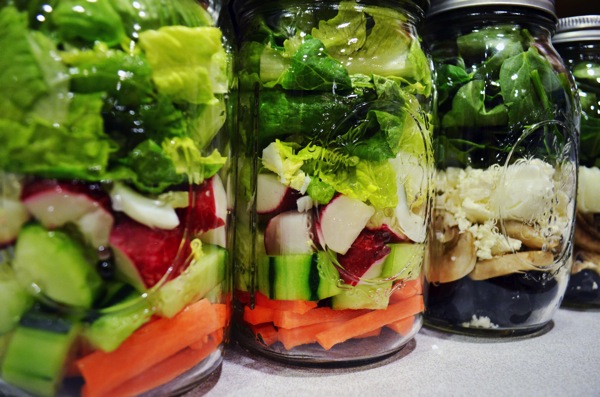
Let me start by saying I’m not a big fan of salads. I never feel completely satisfied after eating one and never in my life have I craved a salad. But I wanted to try this mason jar thing to see if I could get into the habit of eating more salad during the week by making it easy.
So this time around, since I’m starting mid-week, I made 4 jars, 2 lunches each for my husband and I. According to everything I have read, the salads stay fresh for about 4-5 days in the jars, so I’ll wait until Monday to make more for next week (I guess depending on the success of this round!). I planned out pretty basic recipes, purchased all my veggies and came home and started prepping. I washed my mason jars, hard boiled eggs and chopped the veggies, all with these two salads in mind:
Chef Salad: Romaine, carrots, radishes, cucumbers, eggs
Greek Salad: Spinach, mushrooms, olives, eggs, feta
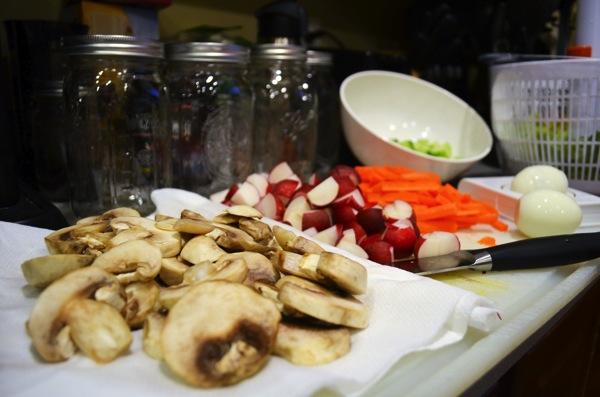
Then it was time to assemble!
If you want to put dressing in the jars, that should be the bottom layer in the jar. This is great if you want a salad on the go and just want to shake it up, pour onto a plate or in a bowl and enjoy. Both my husband and I work from home, so we will just add dressing when it comes time to eat.
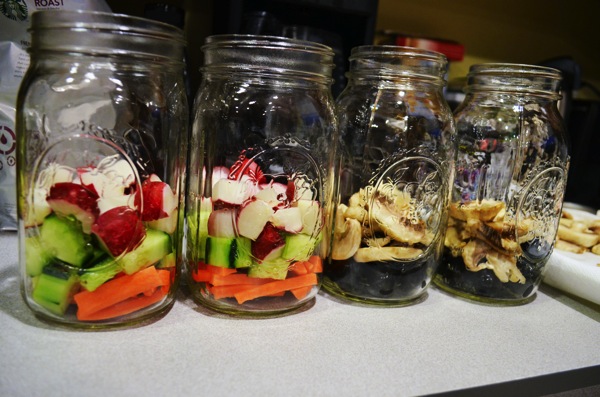
After the dressing should be your hard vegetables…carrots, cucumbers and radishes, for example. For our greek salads, olives were the bottom layer (the picture below I had already added the mushrooms). I was a bit unsure on deciding how much of each veggie to put in the jar. It is much easier to judge when it is spread out in a bowl or on a plate! I guess I’ll find out tomorrow if I got it right!
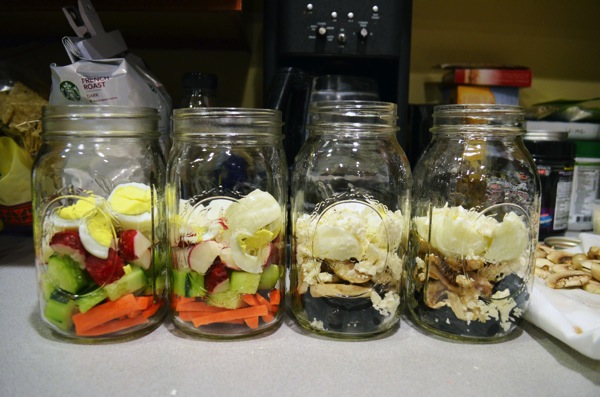
After the dressing, olives and hard vegetables, then layer in the softer ingredients, such as mushrooms, tomatoes, eggs and cheese. This time around I didn’t have chicken or ham to add to the salads, but next week I plan to have one or both, and it would layer in above the hard vegetables as well.
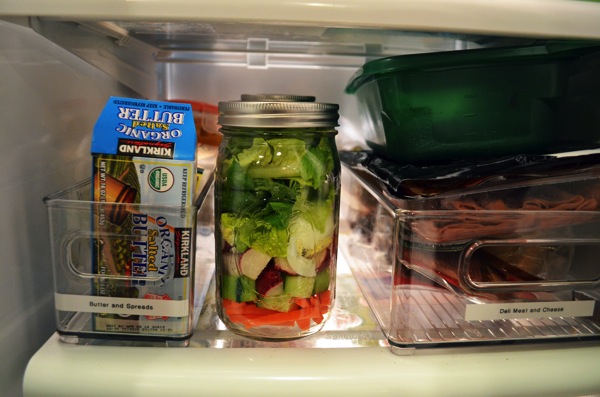
And the final layer is your leafy green of choice. I was able to pack it in pretty tight, which I read is best to minimize the air in the jar. Seriously, how pretty do these look??

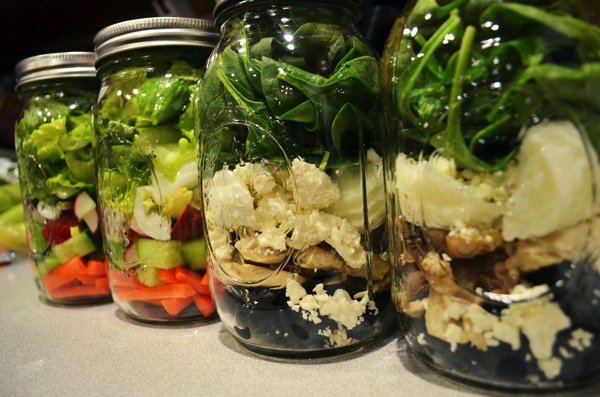
I felt pretty domestic and healthy after making these! I can’t wait to try one tomorrow for lunch!
Some additional notes:
-I read that things like avocados and onions should not be added until ready to eat. Avocados will not keep well and onions are too strong and fragrant. Makes sense to me! I’ll probably add some red onions to the greek salad and avocados to the chef salad when I eat it.
-I had both wide-mouth and regular mason jars. Obviously the wide-mouth ones work much better, which I didn’t think about when I bought a pack of 12 (!!) jars. Oops! Fortunately I already had a couple wide-mouth ones I could use. I have a feeling when we go to pour out the salads in the regular mason jars, we will have to help the veggies out a lot more than the wide-mouth jars. So if you’re buying a new set of mason jars to try this out, make sure they are wide-mouth!
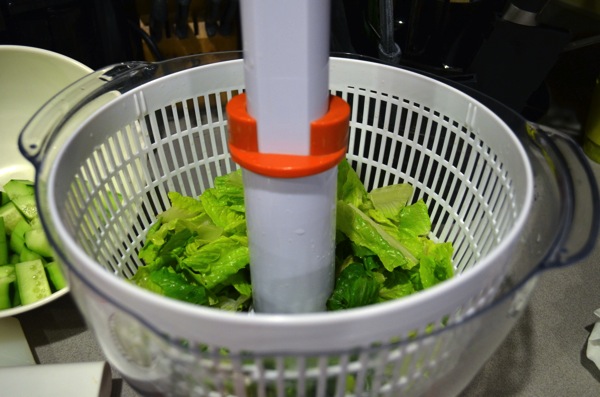
-I used a salad spinner on my romaine. I think getting as much of the water out as possible will make it stay crispy longer.
-Finally, I had some leftover chopped vegetables that I didn’t use, but stored away to use for next week’s batches. Do any of you use Tupperware FridgeSmarts?! These things are amazing. They use a vent system and rigid bottom to keep your food fresh. I didn’t believe they would actually work, but I’m a sucker for good marketing and it actually paid off this time! I put all my leafy greens in one and they never wilt or get slimy before I get a chance to use them all. And you know those huge clamshells of strawberries from Costco? How many do you end up throwing away because they get moldy before you finish them? Put them in one of these Tupperware FridgeSmarts and it will last for weeks. And I swear I’m not a Tupperware rep!!
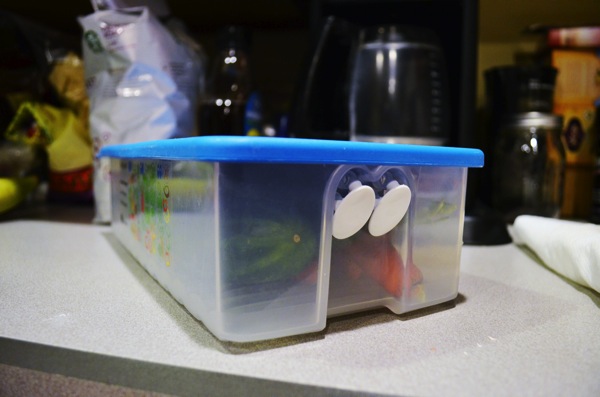
The label on the side tells you which vegetables need 2 vents closed, 1vent open, both vents open, or no refrigeration at all.
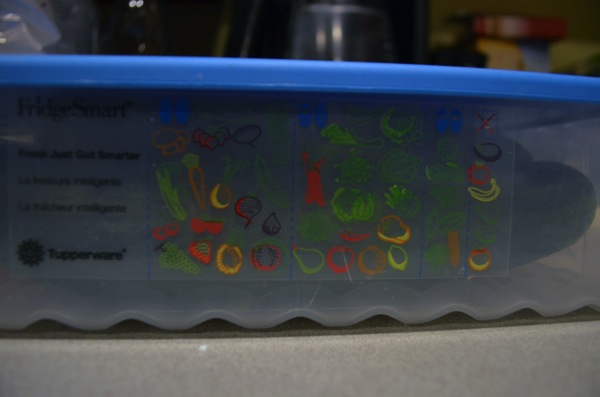
It’s genius I tell you! 😉
But I digress. So one more picture of this scrumptious (I’m stretching, people) lunch waiting for me in my fridge for tomorrow:
Healthy Eating!
